Frightfully Fabulous: Easy Halloween Nail Designs to Try
Celebrated each year on October 31st, Halloween is thought to have originated from Christian believes and practices as the tradition began with the ancient Celtic festival of Samhain, when people would wear spooky costumes and light bonfires to ward off the evil ghosts. The holiday is celebrated on the evening before the Christian holy days of All Saints’ Day, also known as All Hallows’ Day on November 1st and All Souls’ Day on November 2nd.
A number of activities take place on Halloween such as trick-or-treat, enjoying Halloween parties while wearing spooky costumes, scaring away your neighbors with howls and scowls, carving pumpkins into Jack-o’-Lanterns, apple bobbing, playing pranks and divination games, visiting scary attractions etc.
Whether you are resting at home, enjoying your favorite candy corn in the couch of your living room or getting dressed to head over to a Halloween party, your style should reflect a chic and stylish theme to match the day’s vibe. Along with wearing the best outfit, these DIY Halloween nail designs will not only hook up your style but also help you celebrate fall’s most renowned holiday in the most stylish way.


Nail art includes everything, from basic shapes, patterns and colors to intricate designs. The good news is, it’s not hard to do your nails at the beginner’s level. Let’s explore a variety of ideas to choose from!
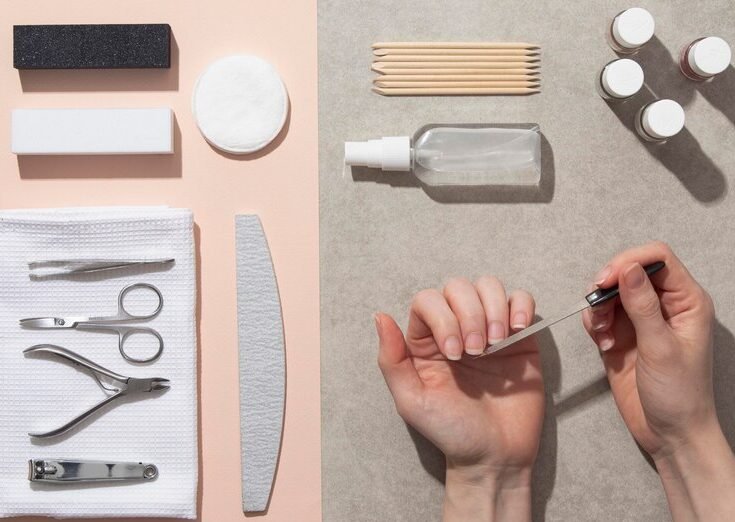
Before you begin this new venture, make sure you have the right tools and supplies to get the perfectly themed Halloween nail designs. You can select a few nail polish shades to execute the design you love. You should also have a set of varying brush sizes for different designs. A clear polish/topcoat and a base coat is also needed. Lastly, a nail file, nail clippers and buffer will really help. To help create just the right Halloween nail designs, get ZIZZON Professional Nail Care Kit Manicure Grooming Set With Travel Case.
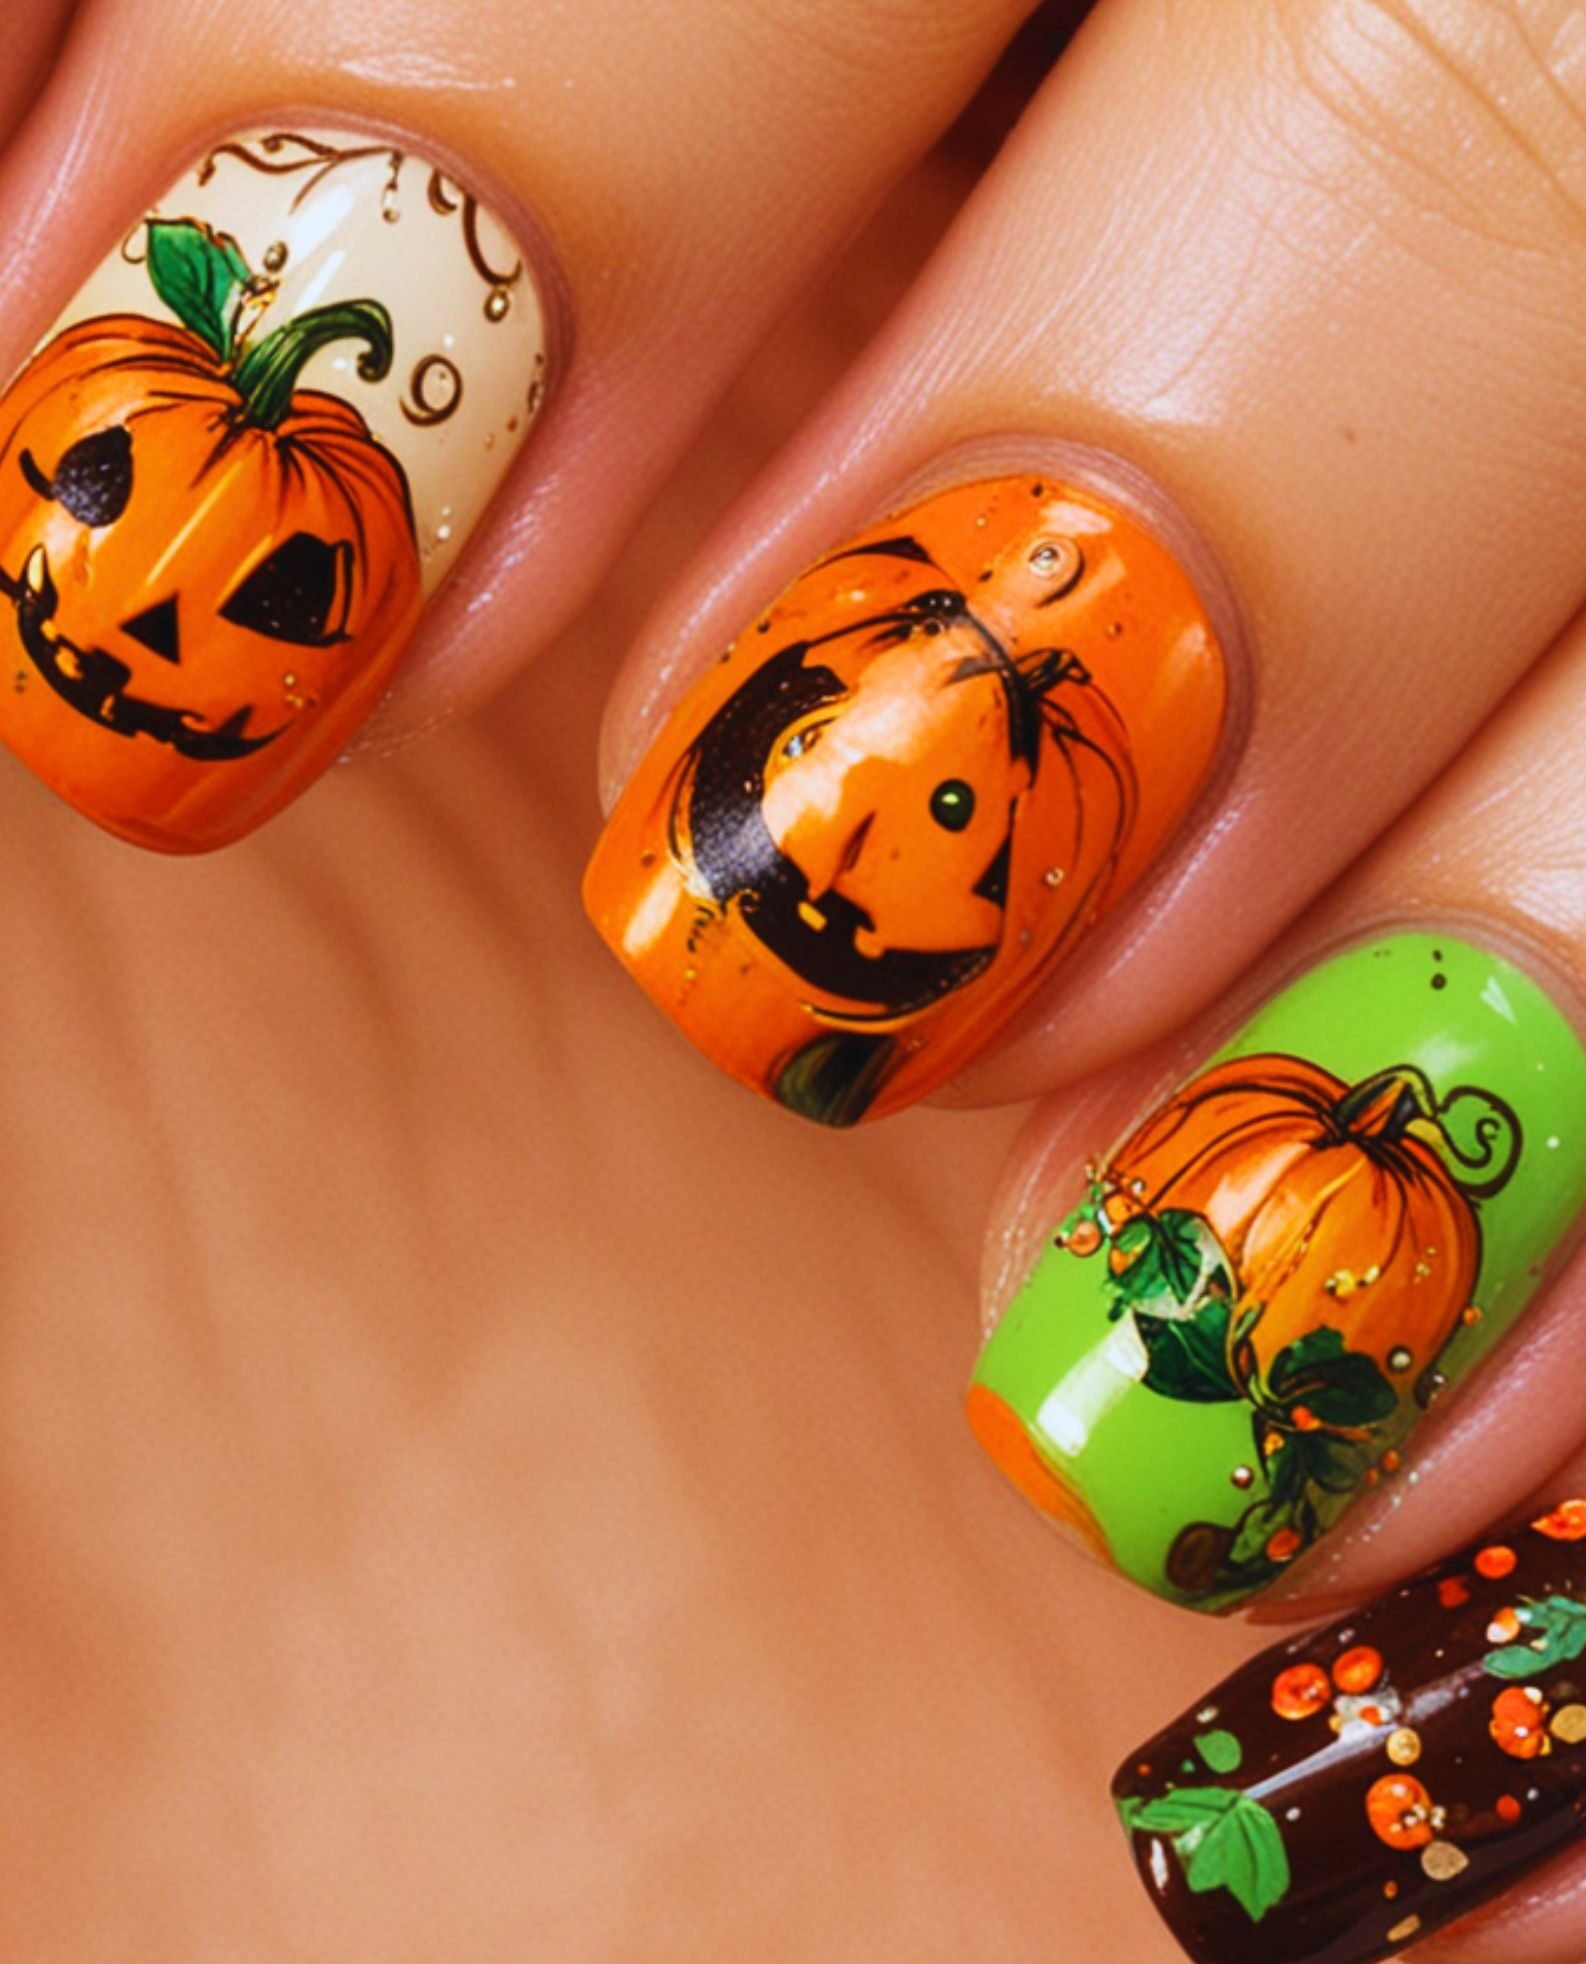
Design 1: Classic Pumpkin Nails
Ensure your nails are clean, well-trimmed and properly filed. Apply the base coat and dry. This ensures your nail art lasts longer. To create a pumpkin, apply two coats of orange color and dry. Using a nail art brush or toothpick, carefully draw a curved line with black or brown at the tip of each nail to create the bottom of the pumpkin. Draw vertical lines to create a pumpkin shape. Fill in with orange if desired. Use green color to draw small stems and leaves at the top of each pumpkin. Use a cotton bud dipped in nail polish remover to clear the nail edges. Finally, apply a top coat to add a finished, glossy look to your nails.
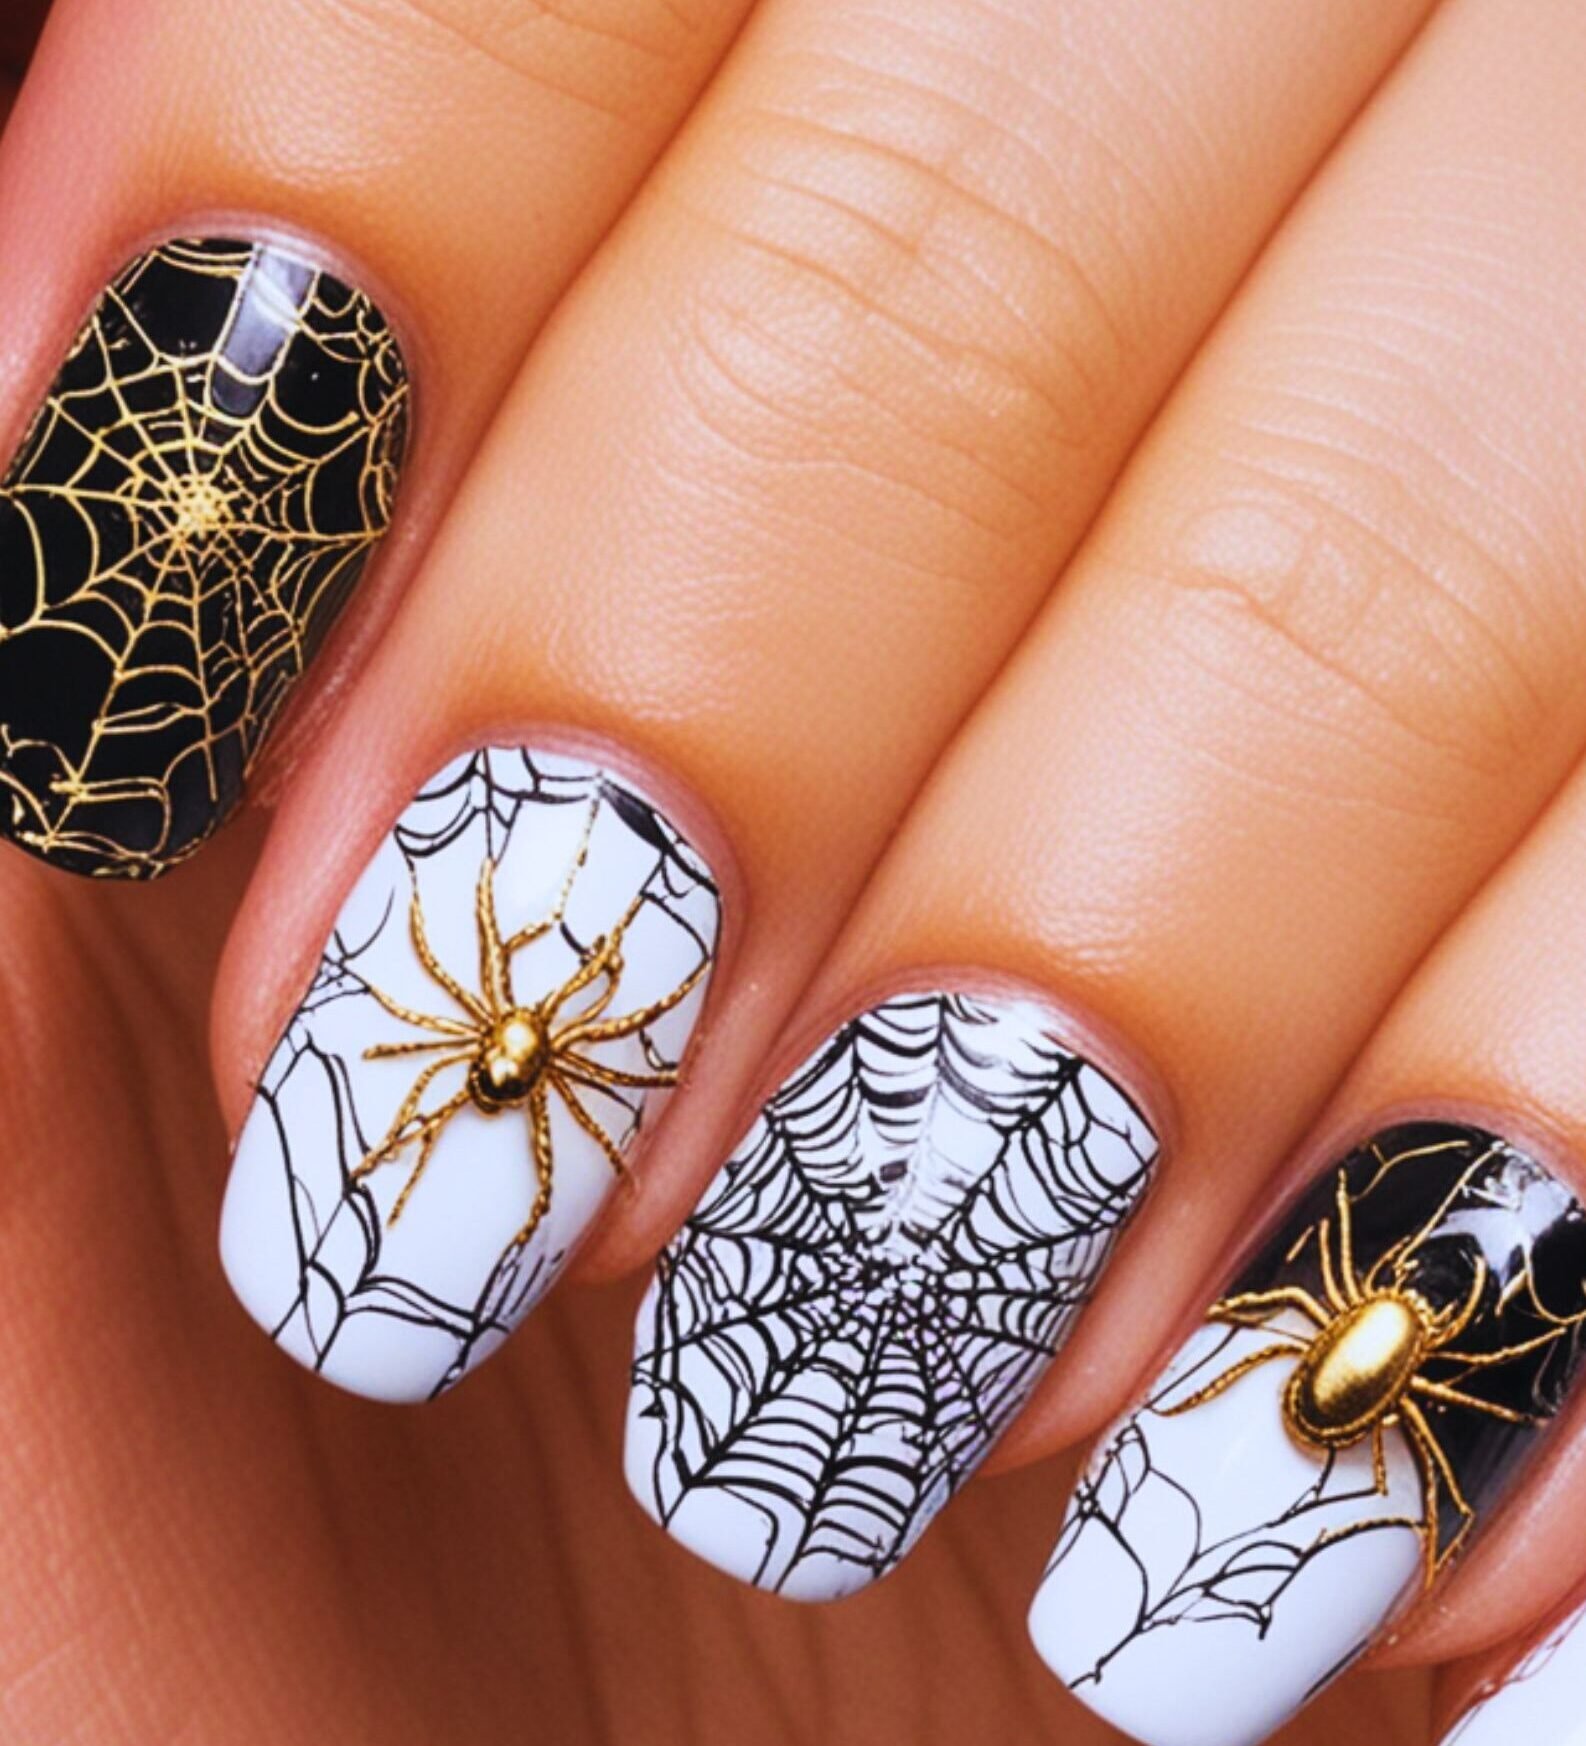
Design 2: Spooky Spider Webs
To begin with, apply a base coat of black color evenly and let dry. Using a thin nail art brush, draw the web’s main lines in white or grey color. Then add radiating lines to form a complete web structure. To top-off the look, add small spiders at different points on the web using a nail art pen or fine brush. You can use brown or dull golden color to draw the spider’s body and legs. Finish with a top coat to give a shiny and protective touch. Adding a little glitter will give an extra flair to your spider’s web. You can create personalized nail designs that match your vibe.
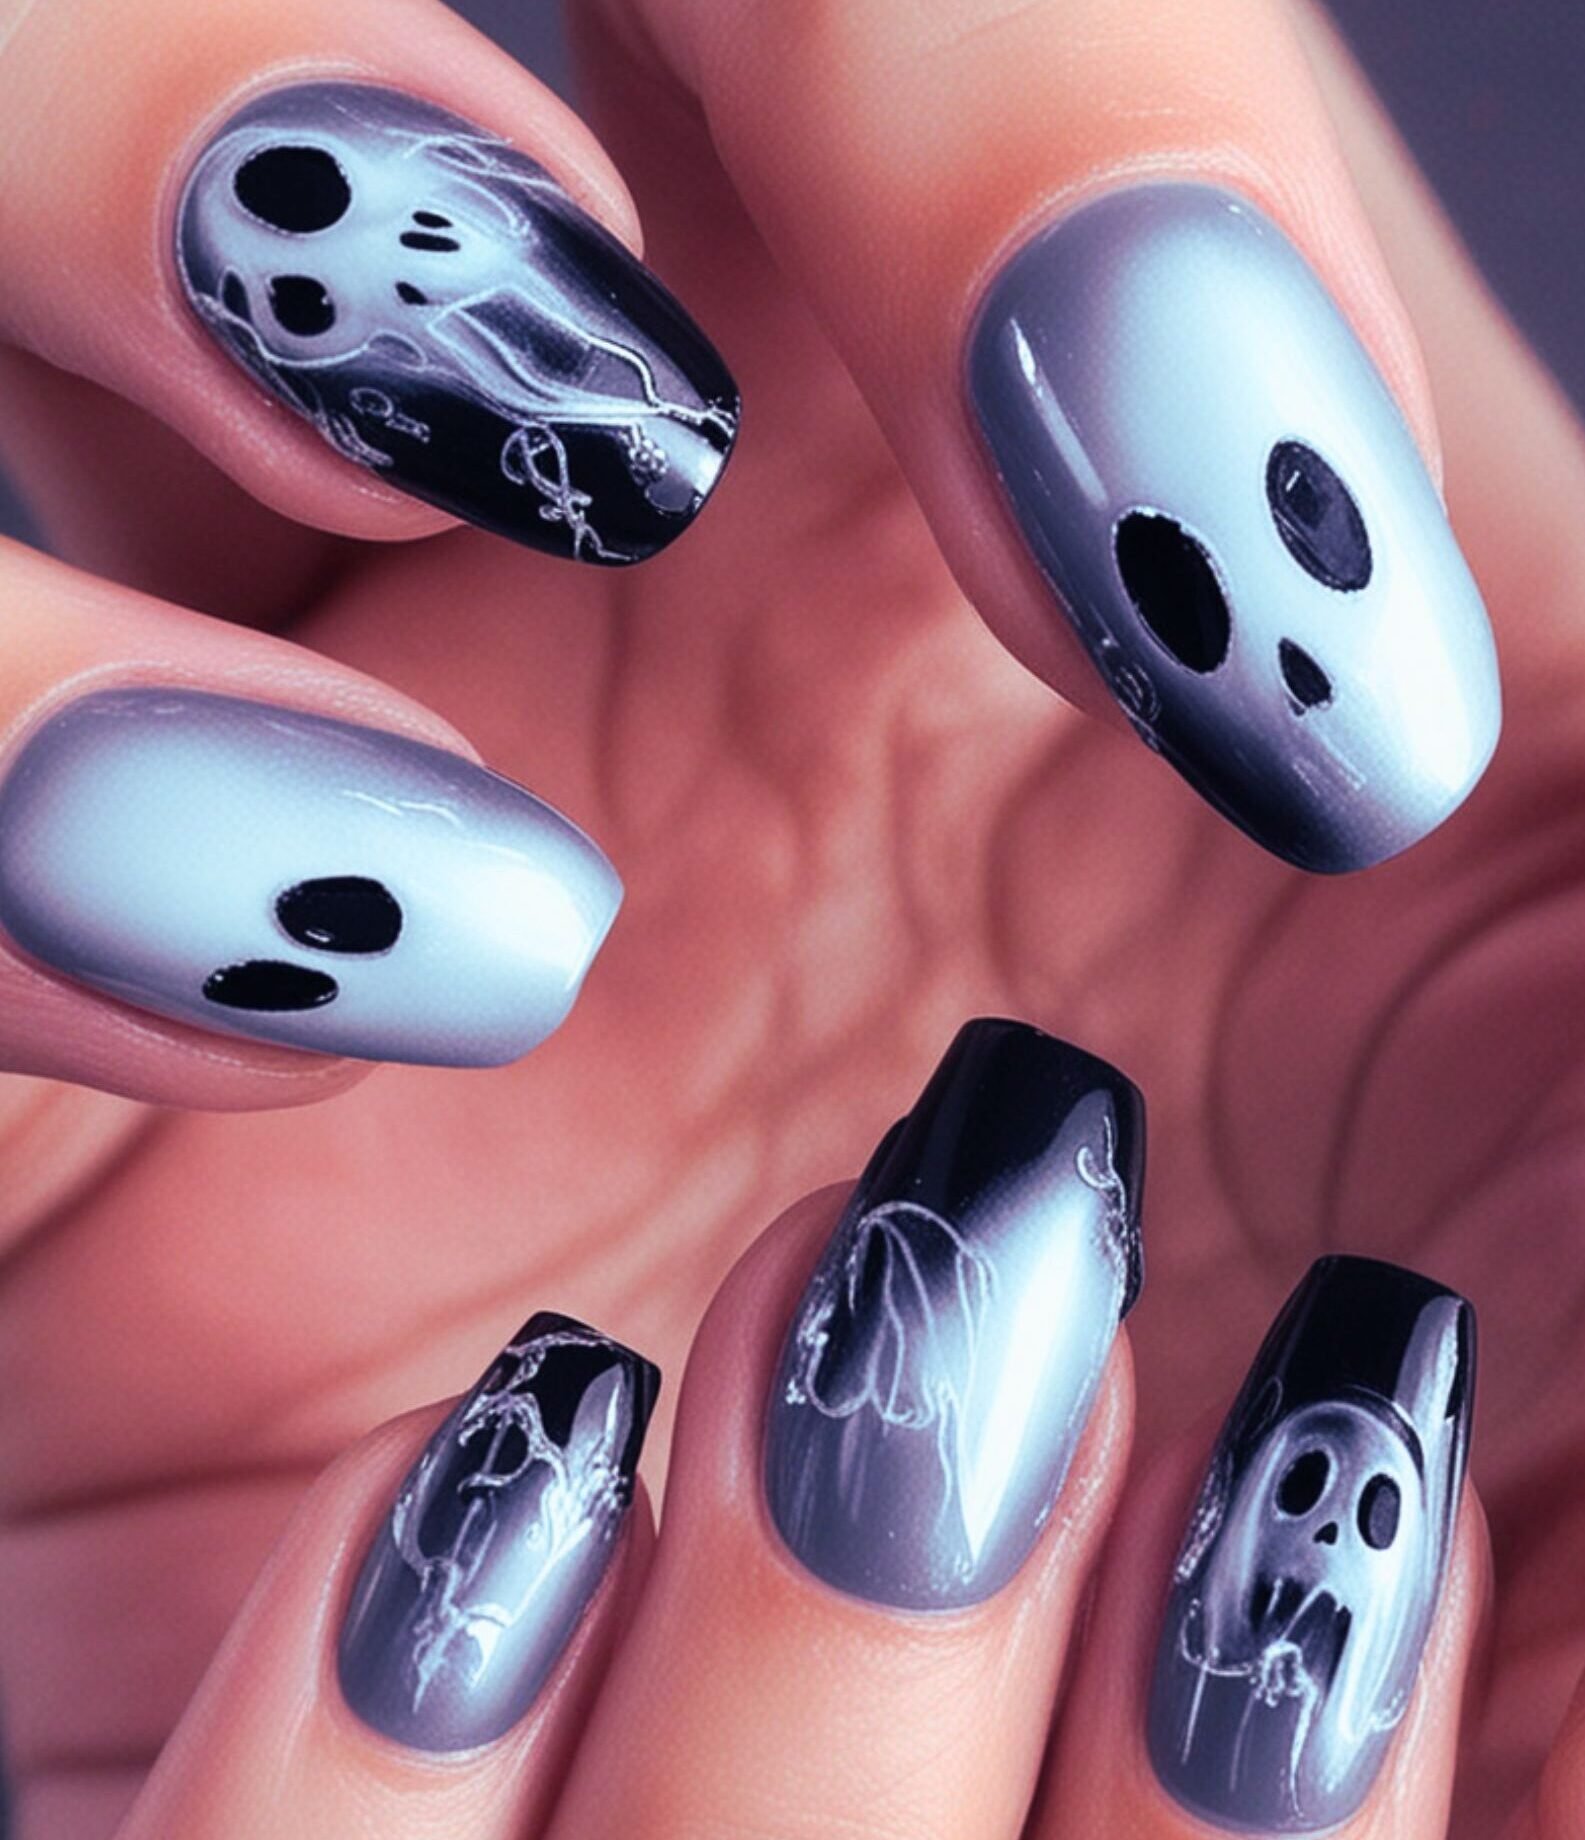
Design 3: Ghostly White Nails
To create a ghostly effect on your nails for this Halloween, begin by applying a base coat. Let it dry for a few minutes. Then apply black gel nail polish at the nail tips as shown. Using silver nail color, with the help of a fine nail art pen draw a ghost figure in abstract art. Make its eyes, arms and legs in the most abstract way. You can sprinkle silver glitter to give an extra flair. Apply a top coat to securely seal your nail art and add a glossy touch.
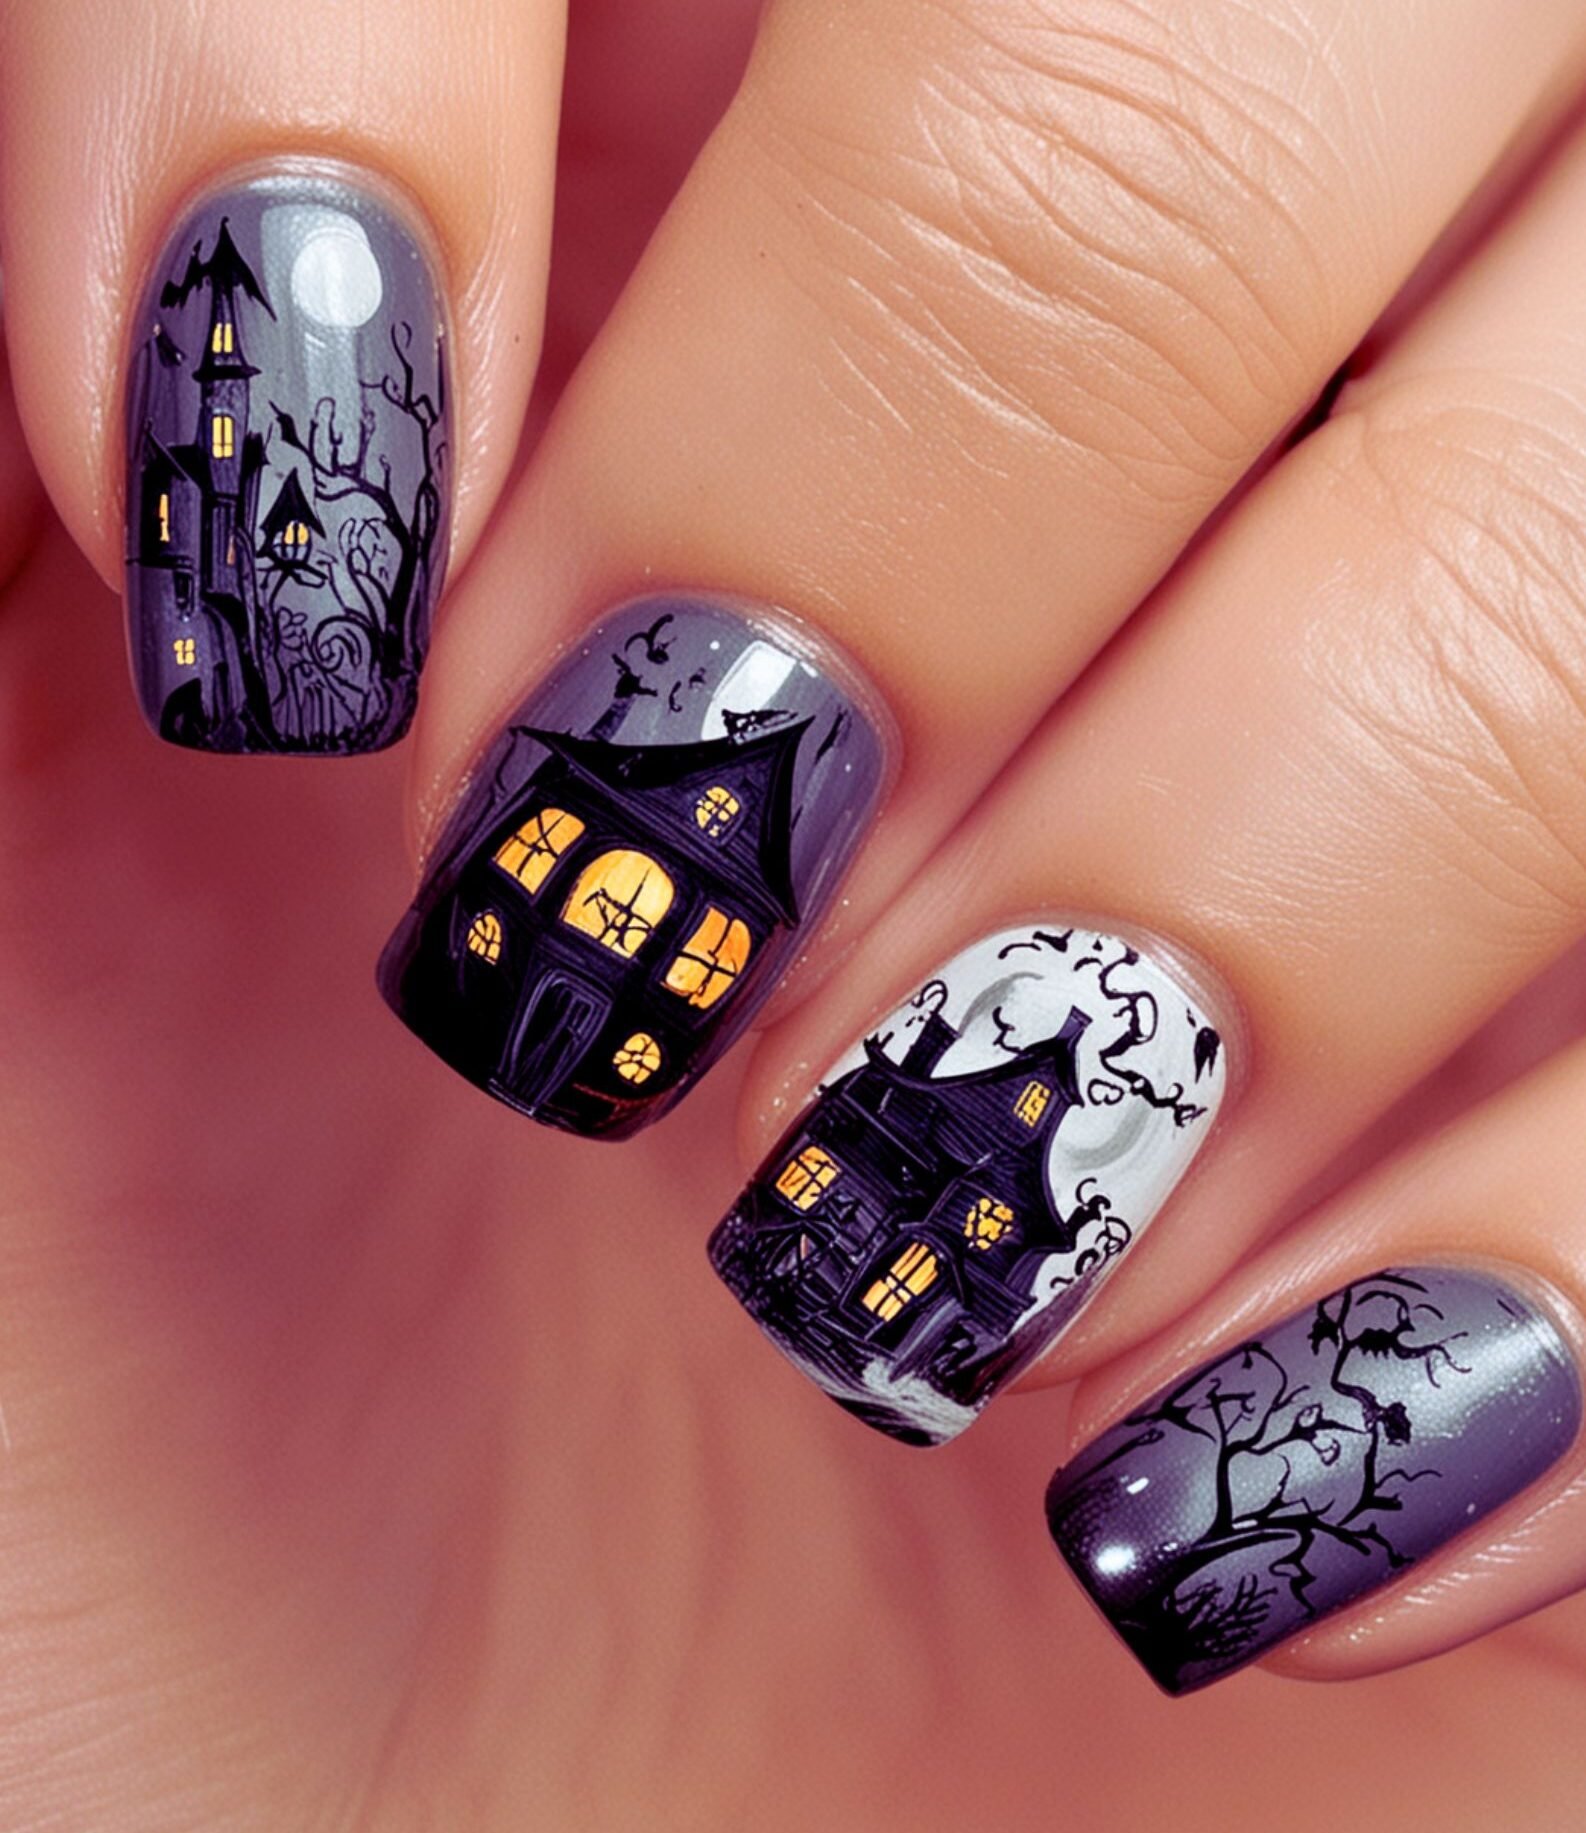
Design 4: Scowling Houses
Start with clean and properly filed nails. Apply the base coat and let dry. Then apply two fine coats of dark blue, light grey or white nail polish and wait. Using a fine nail art pen or brush, draw an outline of the house in black color. Add windows, doors, chimneys and other details with contrasting yellow or orange color for a spooky touch. Draw tree stems, bats, a full moon etc. as a background to the haunted house. Use a cotton bud dipped in nail polish remover to clear the nail edges. Lastly, finish the look with a top coat that gives added shine and protection to your nail art.
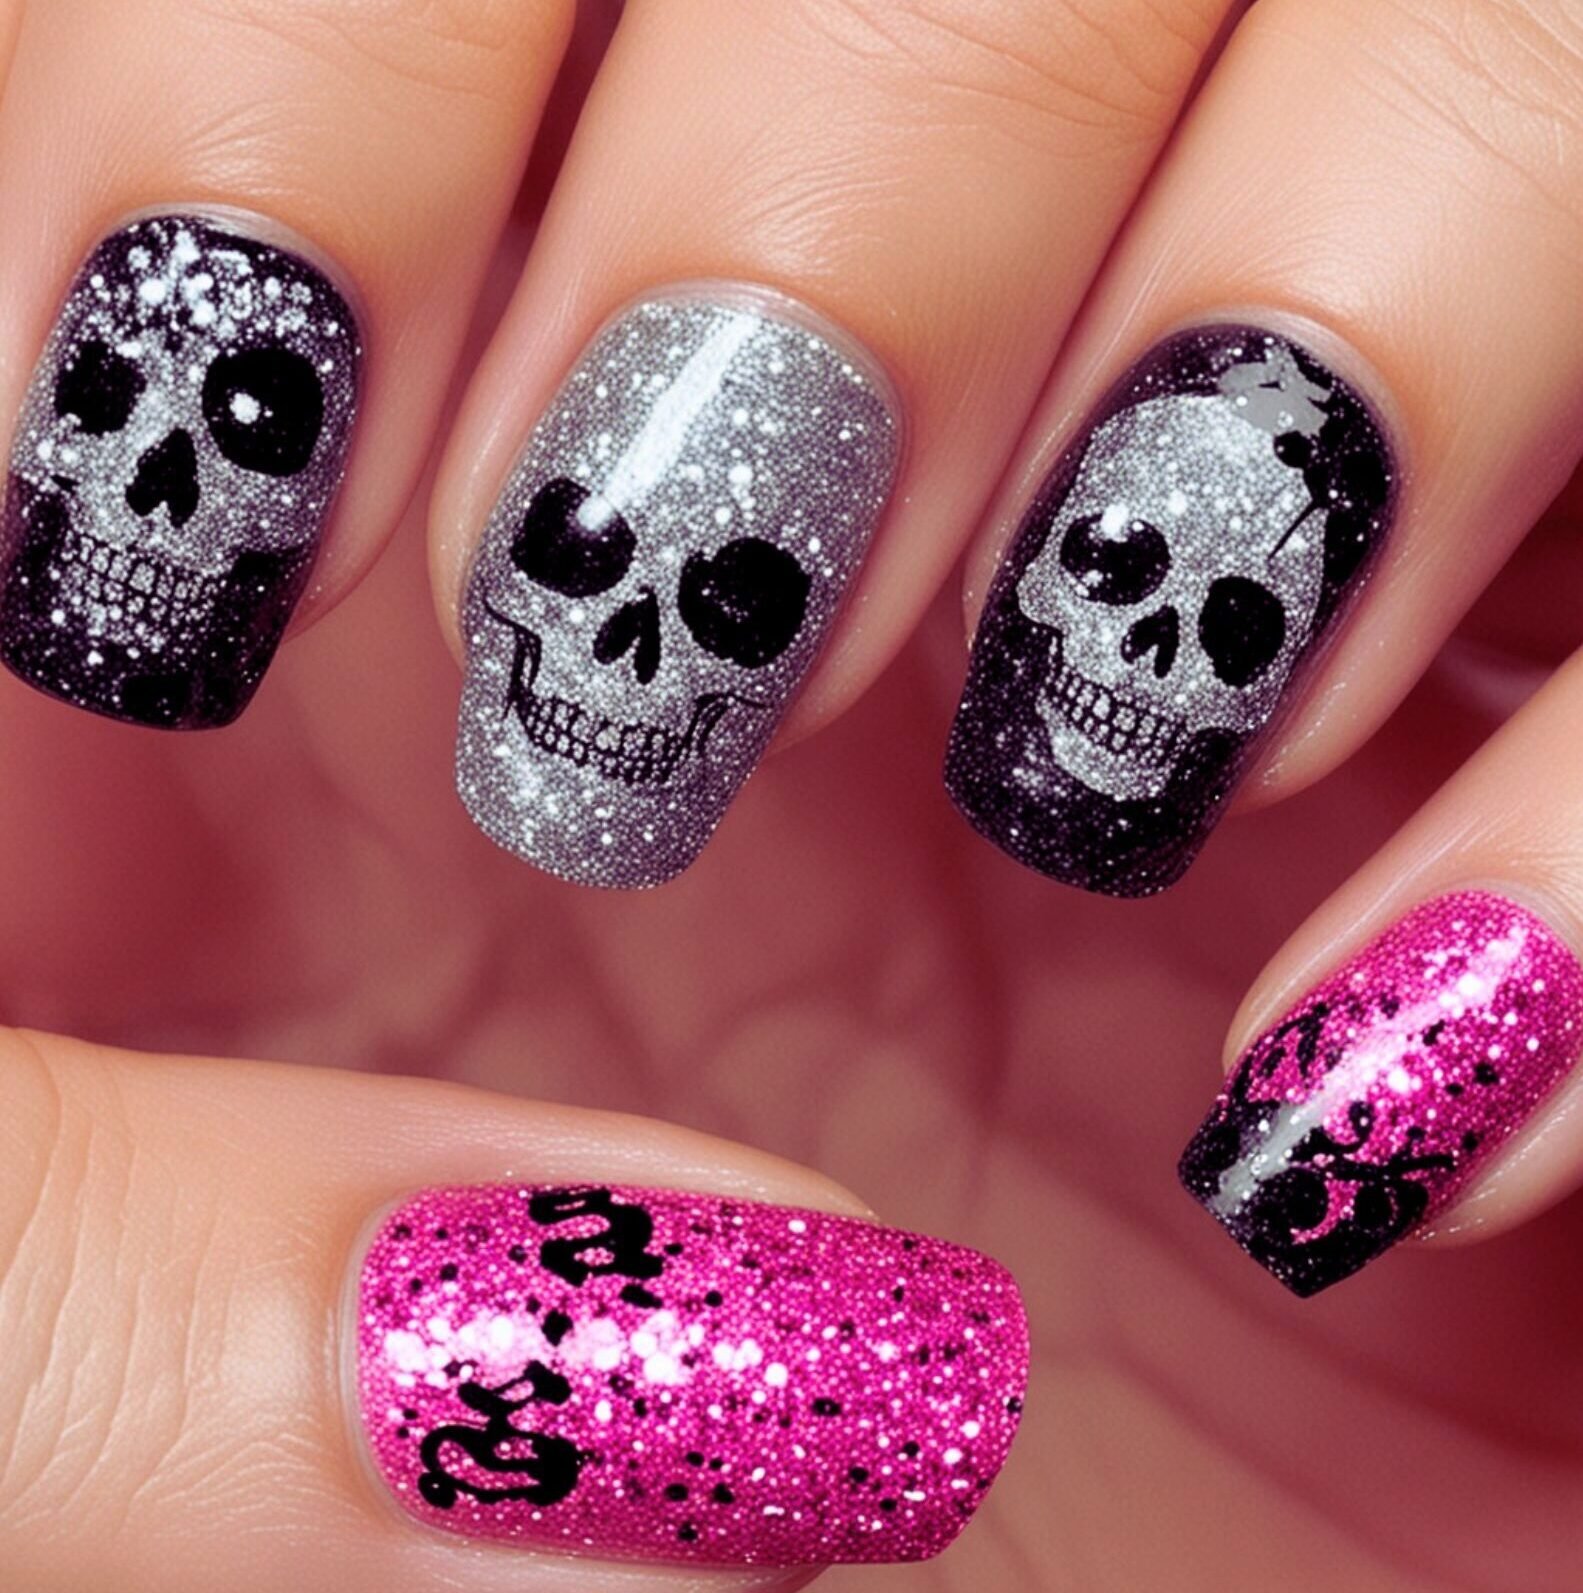
Design 5: Glamorous Glitter Skulls
So if you are looking for a glittery, spooky nail art, then go ahead with this! Begin by applying a base coat and let dry. Now, you can apply two coats of either silver or black nail polish as per your choice. Then using a toothpick or fine nail art brush, draw the outline of a skull with a contrasting color or simply use skull stickers. You can also use golden glitter here to fill in the skull. Let dry completely before applying the top coat. Your nail art is ready to glow!
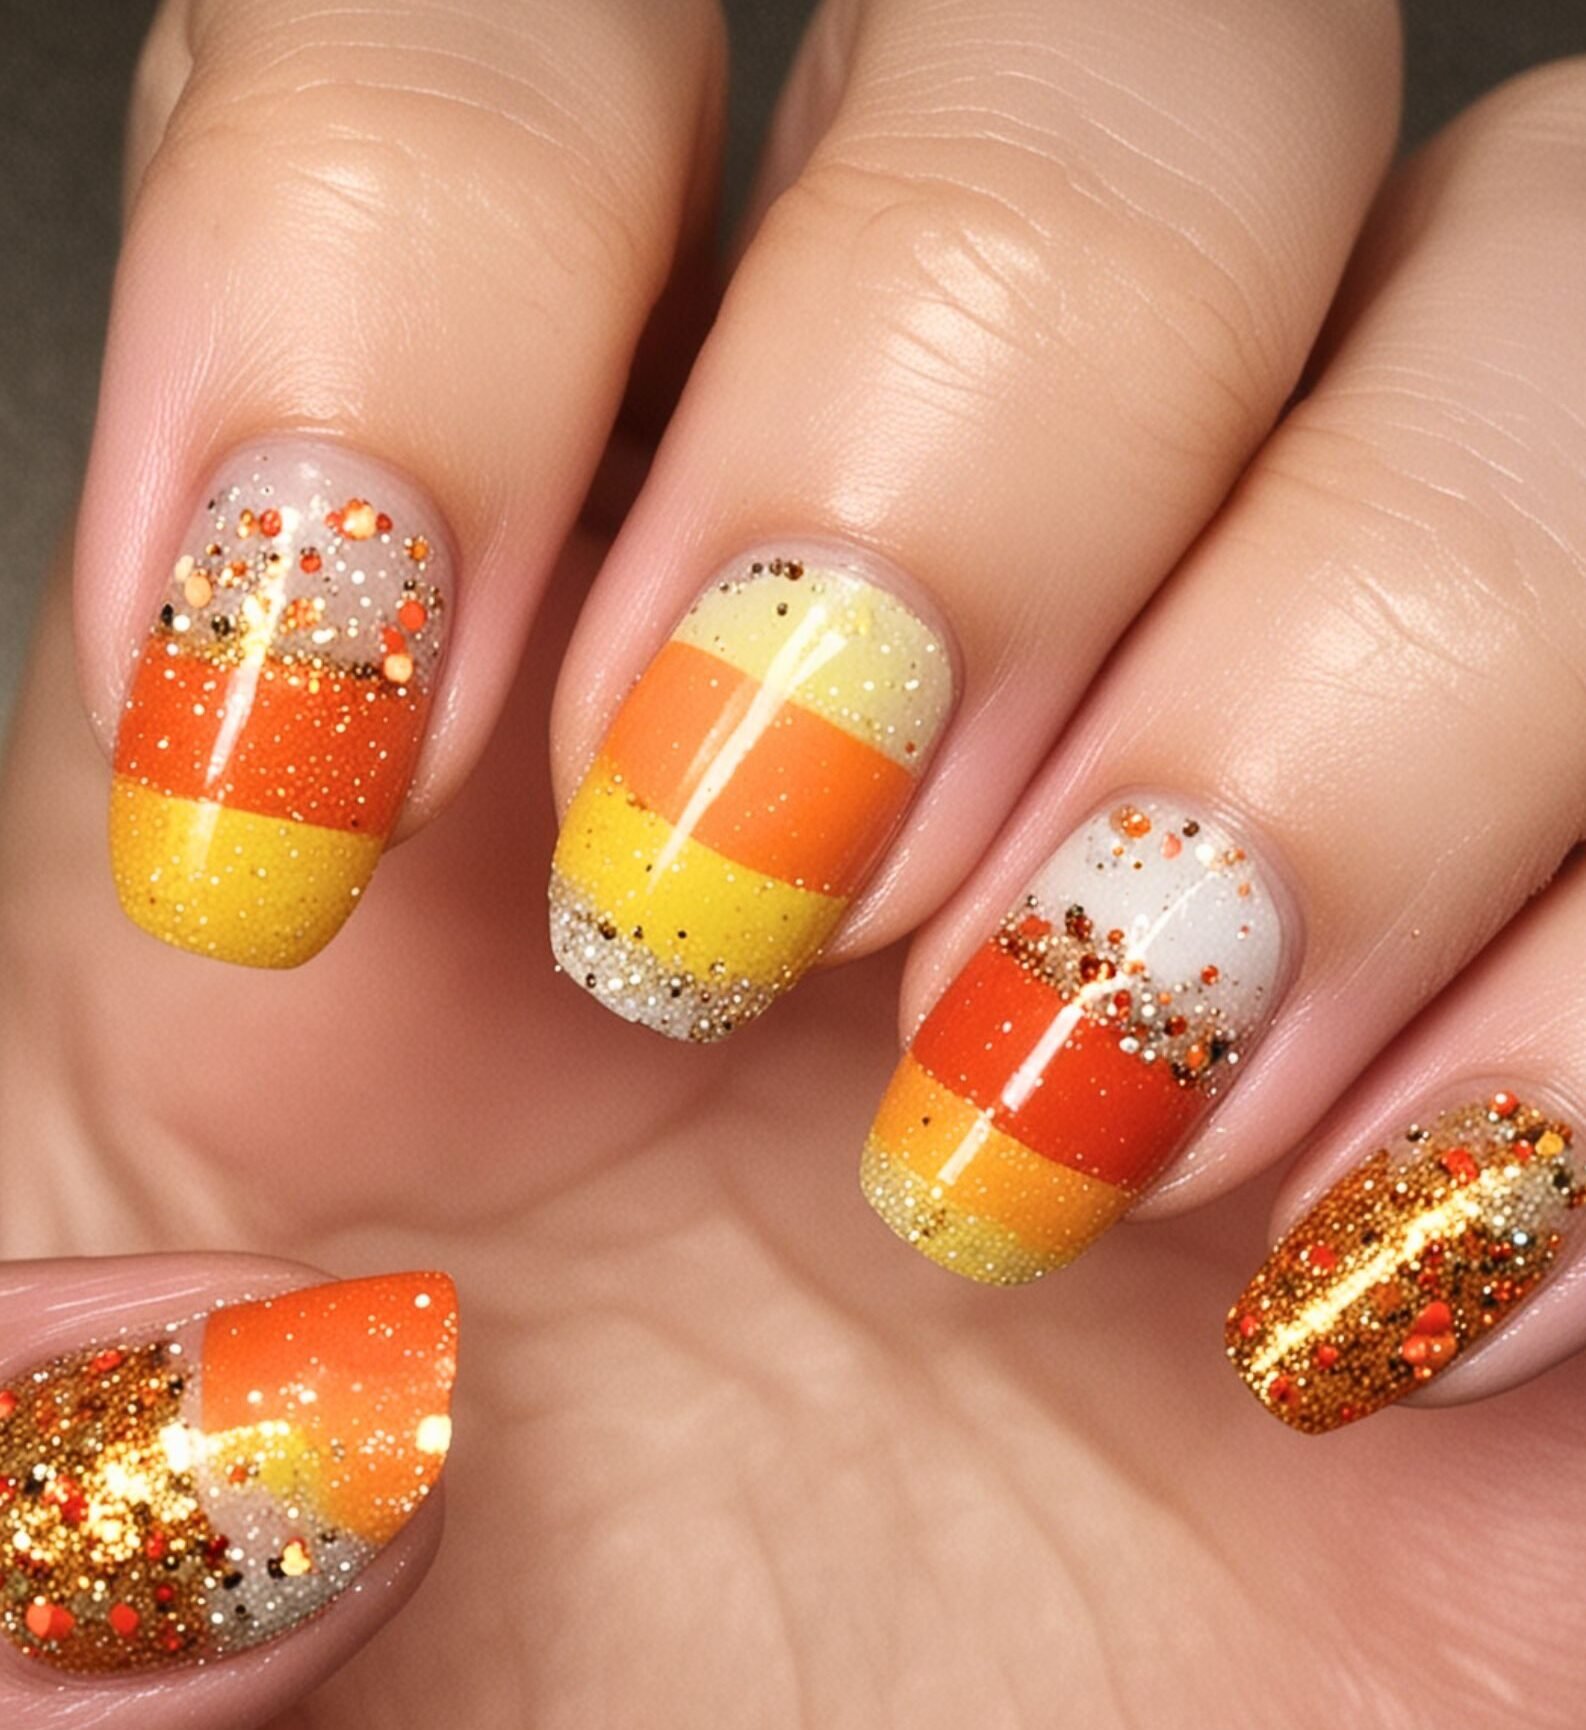
Design 6: Candy Corn Creations
Apply the base coat and wait. You can then apply two coats of a neutral color like white or yellow. Wait for it to dry. Use nail tape or stickers to section your nails into three to four horizontal parts. Paint the tips with your favorite color. You can also add golden glitter to the tips. Paint the remaining parts with yellow, orange and white color. Let dry then remove the tape. You can also use nail polish to create a gradient effect on the nails by mixing two or three different shades while the tape is on. Dry then apply the top coat to add a shiny, protective layer.
Tips For A Long-Lasting Manicure
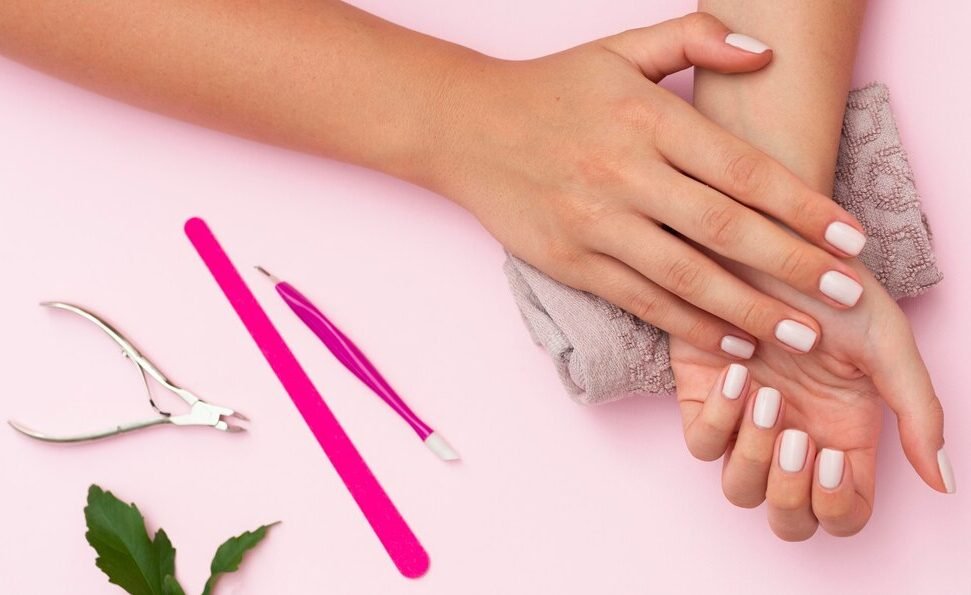
- Clean your nails thoroughly, push back cuticles, trim the nails and properly file them. Buff the nail surface to add shine.
- Apply a good quality base coat to provide a smooth surface to your nail polish.
- Apply two to three coats of nail polish on each nail. Ensure each coat is well-dried before applying the next one.
- Finish off with a high quality top coat to seal in the nail art and add shine. Reapply after every few days to give your nails a fresh look.
- Avoid using quick-dry products as they can make the nail polish more prone to chipping.
- Avoid water usage for long periods. Use gloves to keep your hands safe while doing household chores.
- Keep your hands well-moisturized to prevent dryness and peeling.
- When removing the nail polish, its better to use non-acetone polish removers and avoid exposing your nails to harsh chemicals.
Creating a spooky yet stylish nail art is a fun way to get creative with your Halloween celebrations and show-off your style in a chic way. Whether you opt for classic pumpkin nail designs or the spooky spider webs, these intricate designs are sure to top-off your look this Halloween. Before you begin the nail art, do not forget to properly clean, trim and file your nails. Use good quality, trusted products for a long-lasting manicure. We hope the ideas shared above are just the right to experiment this Halloween. Share your creations in the comments below and let the festivity shine through your fingertips. Happy nail art and an even happier Halloween!


